 30 September 2025
How to Harvest and Store Moringa Leaves for Maximum Nutrition
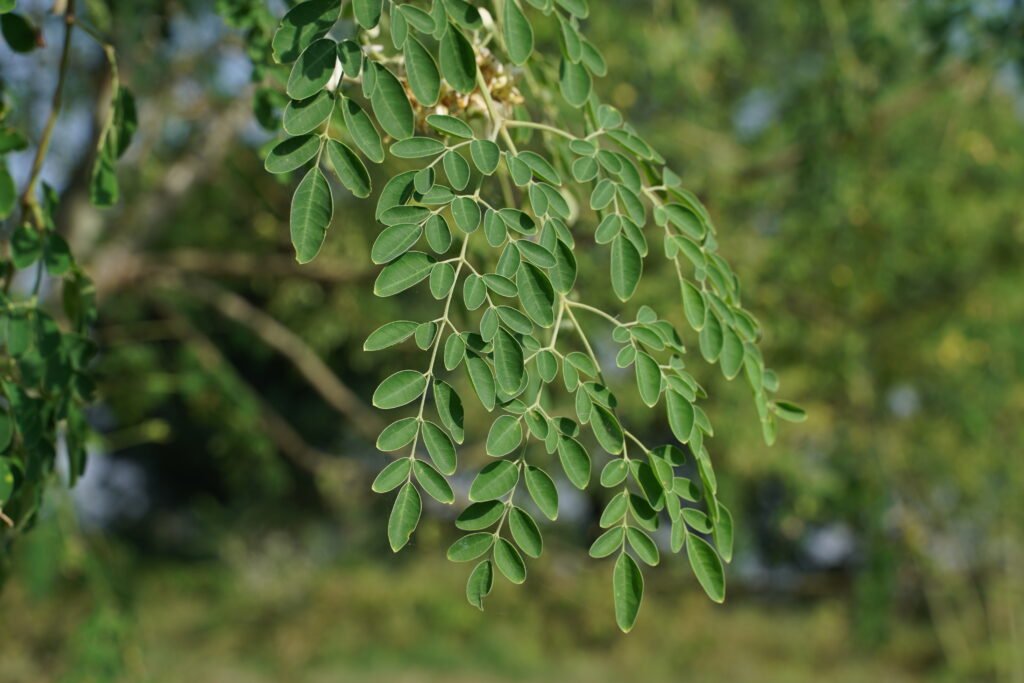
The Moringa oleifera tree, often called the “Miracle Tree,” is a nutritional powerhouse. Every part of the tree offers benefits, but the leaves are particularly prized for their wealth of vitamins, minerals, antioxidants, and amino acids. Whether you’re growing your own Moringa or have access to fresh leaves, knowing how to harvest and store them correctly is crucial to preserving their potent goodness.
This detailed guide will walk you through the best practices for harvesting and storing Moringa leaves, ensuring you can enjoy their nutritional benefits for longer.
Part 1: The Art of Harvesting Moringa Leaves for Peak Nutrition
Harvesting at the right time and in the right way significantly impacts the nutritional content of your Moringa leaves. Here’s what you need to know:
1. Timing is Key:
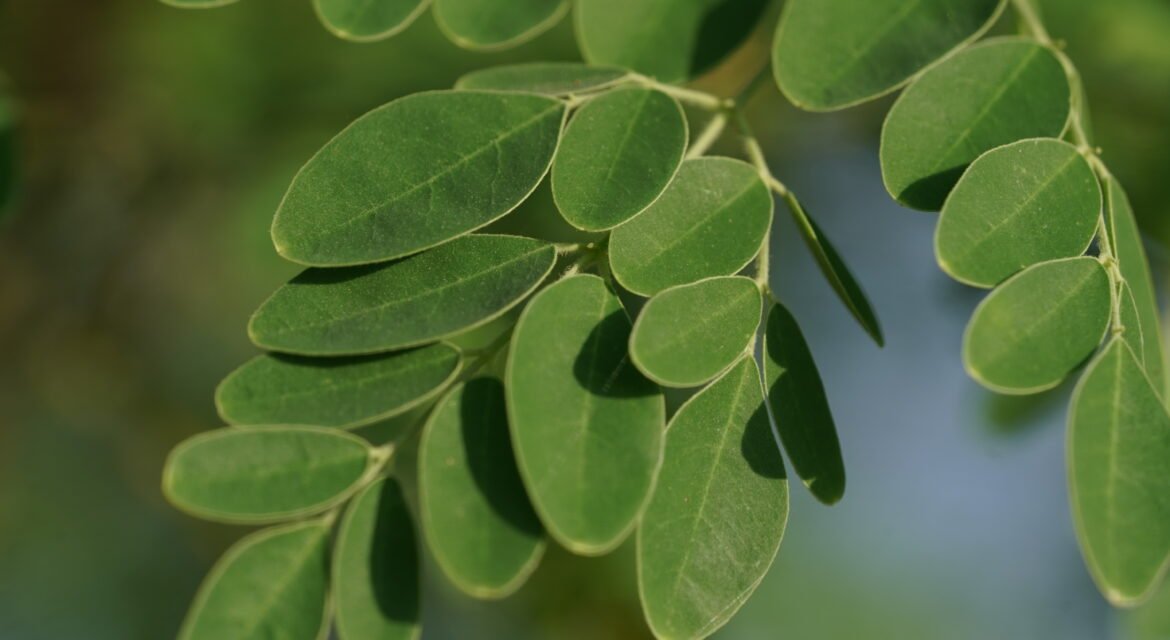
- Optimal Stage: The best time to harvest Moringa leaves is when the tree is actively growing, typically during the warmer months or after a period of rain. Look for young, vibrant green leaves that are fully formed but still tender.
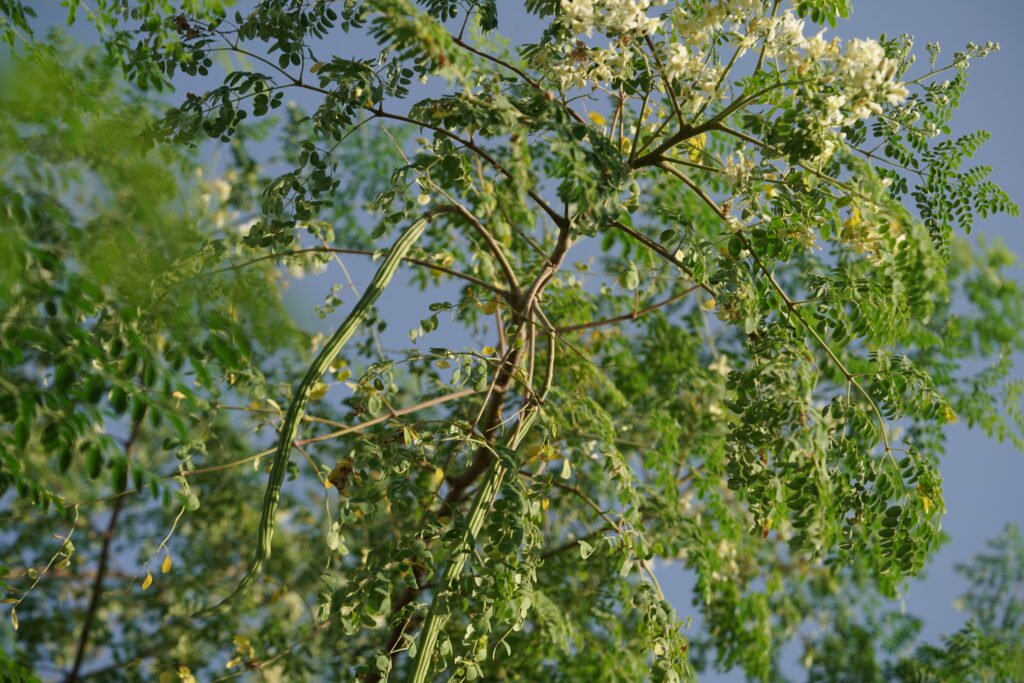
- Avoid Flowering and Podding: Once the tree starts flowering and producing pods, it diverts energy towards these reproductive processes. Harvesting leaves during this time may result in a slightly lower concentration of nutrients in the foliage.
- Morning Harvest (Ideal): Harvesting in the early morning, after the dew has dried but before the sun gets too intense, is often recommended. This is when the plant’s moisture content is generally higher, and the leaves are at their freshest.
2. Choosing the Right Leaves:
- Select Healthy Leaves: Look for leaves that are a uniform green color, free from spots, blemishes, insect damage, or signs of disease.
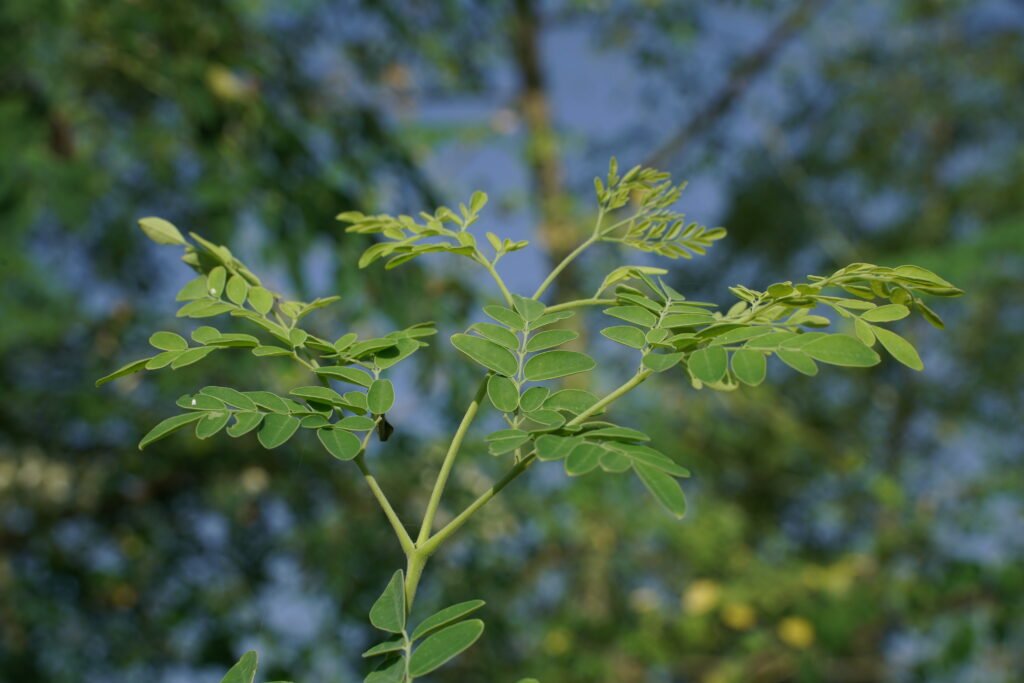
- Focus on Younger Branches: Younger branches tend to have more tender and nutrient-rich leaves compared to older, woody branches.
- Harvest in Moderation: Avoid stripping the entire tree bare at once. This can stress the tree and hinder its future growth. Aim to harvest about one-third of the leaves at a time, allowing the tree to recover.
3. Harvesting Techniques:
- Use Clean Tools: Employ sharp, clean pruning shears or scissors to make clean cuts. This prevents damage to the tree and reduces the risk of infection.
- Cut the Leaf Stalks: Instead of plucking individual leaflets, cut the entire leaf stalk (petiole) where it joins the branch. This is a more efficient method and minimizes damage to the tree.
- Handle Gently: Moringa leaves are delicate. Handle them with care during harvesting to avoid bruising or crushing, which can lead to nutrient loss and spoilage.
Part 2: Mastering Moringa Leaf Storage for Long-Term Nutritional Value
Fresh Moringa leaves are best consumed immediately to maximize their nutritional benefits. However, if you have a surplus, proper storage techniques can help you preserve their goodness for later use. Here are several methods:
1. Air Drying (The Most Common Method):
- Preparation:
- Wash (Optional but Recommended): Gently wash the harvested leaf stalks under cool, running water to remove any dust, dirt, or insects. Pat them dry with a clean cloth or allow them to air dry slightly.
- Separate the Leaflets: Once the stalks are mostly dry, carefully separate the individual leaflets from the stems. Discard any yellowed, damaged, or wilted leaves.
- Drying Process:
- Choose a Well-Ventilated Area: Select a clean, dry, and well-ventilated space away from direct sunlight. Direct sunlight can degrade some vitamins and antioxidants. Good airflow is crucial to prevent mold growth.
- Spread Evenly: Spread the individual leaflets in a thin, single layer on clean trays, screens, or cloths. Avoid overcrowding, as this can hinder proper drying.
- Turn Regularly: Turn the leaves once or twice a day to ensure even drying on all sides.
- Drying Time: The drying time will vary depending on the humidity, temperature, and airflow. It can take anywhere from a few days to a week or more. The leaves are sufficiently dry when they are brittle and crumble easily when touched.
- Storage:
- Cool and Dark Place: Once completely dry, store the Moringa leaves in airtight containers (glass jars, food-grade plastic containers) or resealable bags in a cool, dark, and dry place. Avoid areas with high humidity or temperature fluctuations.
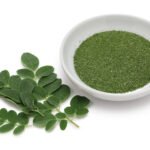
- Whole vs. Powdered: You can store the leaves whole or crush/grind them into a powder using a mortar and pestle or a clean spice grinder. Powdered Moringa takes up less space but may have a slightly shorter shelf life compared to whole dried leaves.
- Labeling: Label your containers with the date of drying.
- Shelf Life: Properly dried and stored Moringa leaves can retain a significant portion of their nutrients for several months (typically 6-12 months). Check for any signs of mold or discoloration before use.
2. Oven Drying (Faster Method):
- Preparation: Follow the same preparation steps as for air drying (washing and separating leaflets).
- Drying Process:
- Low Temperature: Preheat your oven to a very low temperature (around 100-150°F or 40-65°C).
- Spread Evenly: Spread the Moringa leaflets in a single layer on baking sheets lined with parchment paper.
- Monitor Closely: Place the baking sheets in the oven and monitor the leaves closely. Turn them occasionally to ensure even drying. This method is faster than air drying, but it’s crucial to use a low temperature to avoid damaging the nutrients.
- Check for Crispness: The leaves are done when they are completely dry and crisp.
- Storage: Follow the same storage guidelines as for air-dried leaves.
3. Freezing (Preserves Freshness but Alters Texture):
- Preparation:
- Wash Thoroughly: Wash the fresh Moringa leaves thoroughly.
- Blanching (Optional): Blanching the leaves briefly in boiling water for 1-2 minutes, followed by an immediate ice bath, can help preserve their color and some nutrients. Drain well after blanching.
- Remove Excess Moisture: Pat the leaves completely dry with a clean cloth or paper towels.
- Freezing Process:
- Portioning: Divide the leaves into small, usable portions.
- Freezer-Safe Bags or Containers: Place the portions in freezer-safe bags or airtight containers, removing as much air as possible to prevent freezer burn.
- Labeling: Label with the date.
- Storage: Frozen Moringa leaves can last for several months (3-6 months). However, the texture will change upon thawing, making them more suitable for cooked dishes, smoothies, or teas rather than salads.
4. Making Moringa Leaf Powder Directly:
- Preparation: Wash and thoroughly dry the fresh Moringa leaves. Ensure they are completely free of moisture.
- Grinding: Use a high-powered blender or a clean spice grinder to grind the dried leaves into a fine powder.
- Storage: Store the powder in airtight containers in a cool, dark, and dry place. Moringa powder is highly susceptible to moisture, so ensure the containers are well-sealed.
Tips for Maximizing Nutrition Retention:
- Dry Quickly: The faster the leaves dry, the better the nutrient retention. Ensure good airflow during air drying.
- Avoid Direct Sunlight: As mentioned earlier, direct sunlight can degrade certain vitamins.
- Store Properly: Airtight, cool, dark, and dry storage conditions are essential to prevent nutrient loss and spoilage.
- Use Within a Reasonable Time: While properly stored Moringa leaves can last for a while, it’s best to use them within 6-12 months for optimal nutritional benefits.
- Consider Your Usage: Choose the storage method that best suits how you plan to use the leaves. Dried leaves and powder are versatile for various applications, while frozen leaves are better for cooked dishes.
Incorporating Your Harvested and Stored Moringa:
Once you’ve successfully harvested and stored your Moringa leaves, the possibilities are endless! You can:
- Add fresh leaves to salads, soups, and stews.
- Brew dried leaves or powder into a nutritious tea.
- Blend dried or fresh leaves into smoothies.
- Incorporate Moringa powder into baked goods, sauces, and other dishes.
By following these detailed guidelines, you can effectively harvest and store Moringa leaves, ensuring you have a readily available source of this incredible superfood to boost your health and well-being. Enjoy the journey of cultivating and utilizing the power of the “miracle tree”!